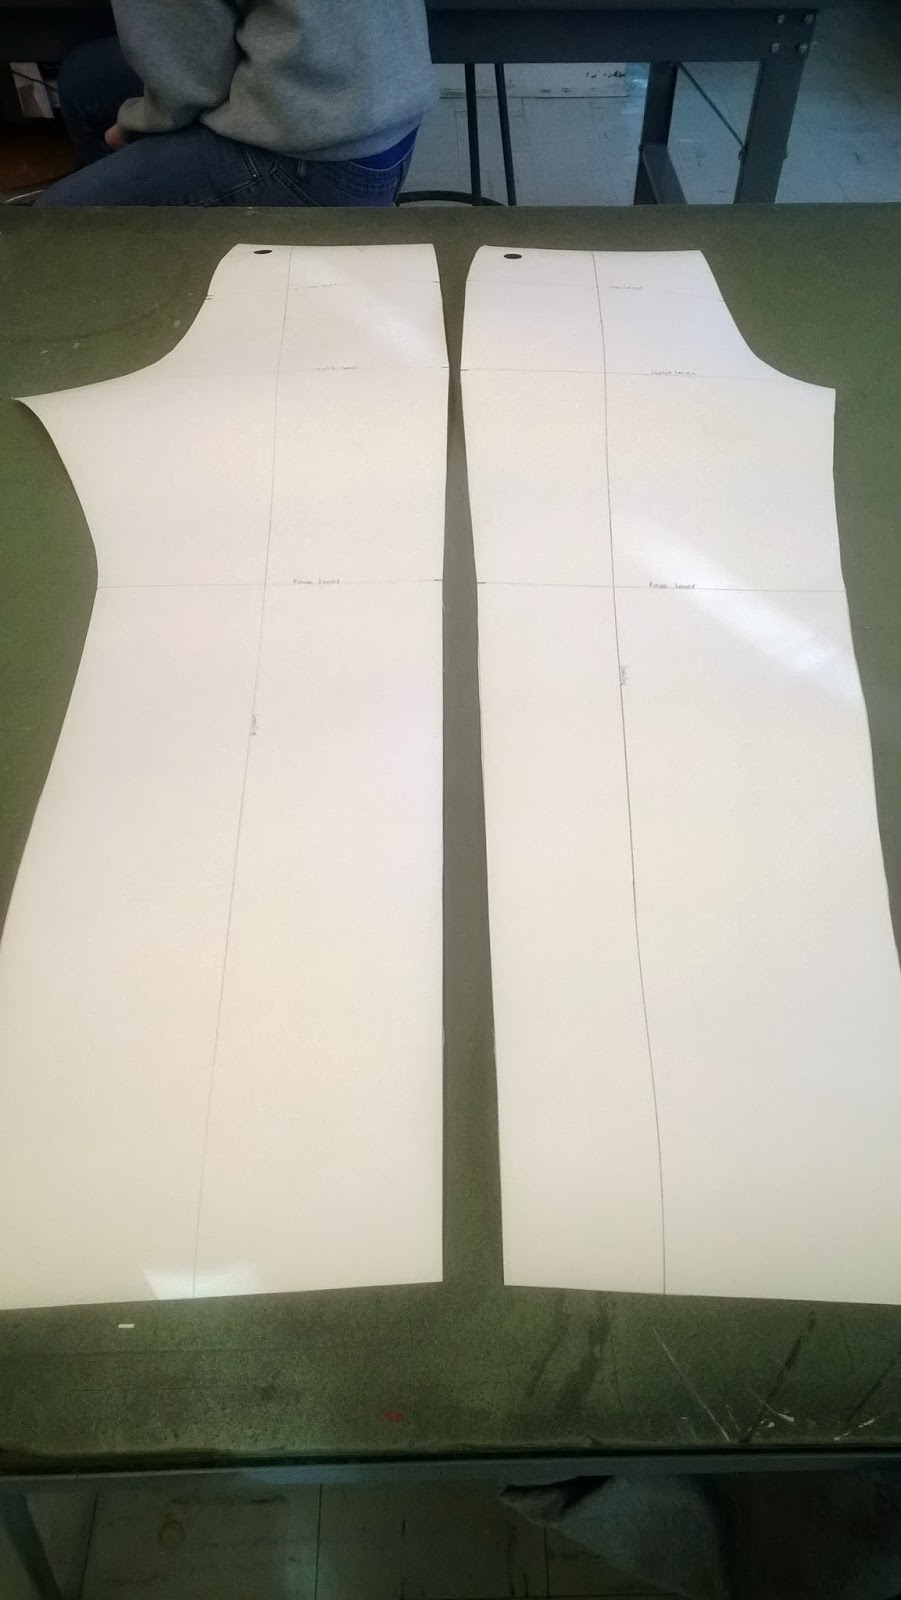
 |
| The shirt sloper and then some of the patterns. |
Friday, January 31, 2014
Menswear Update
For the fashion show I am making an evening dress for my girl model (Gabrielle) and then for my guy model (Eric) I am making trousers, a jersey t-shirt, and a vest. All of which I make from using their measurements to make patterns, by either drafting the patterns or draping.
Showcase is a class for my major where we're all divided into teams to work on different parts of the fashion show. I'm on the Publishing team and we take care of the booklet and ticket design/layout. Well, back to the point, in Showcase we have a team called Quality Check (or QC for short) that has checks for points for the class every week. Today all patterns were due, so I had to spend most for the past 2 days working on all my patterns for Eric's shirt and vest. Since I've been working on the pants in class I was basically done with them. I had a few problems with some of the measurements but I think the patterns turned out well. The next step is to make Eric's shirt and vest out of muslin and see how they look with the muslin pants, or I guess start making the pants out of fashion fabric. I haven't quite decided what to do yet, but I want to be done with them soon. I'll decide this weekend while I'm trying to finish up Gabrielle's dress, I still have to do the bottom skirt to make it a floor length dress.
Sunday, January 26, 2014
First Pants
For my Apparel Design 2 class we are starting off the semester by making pants. Now we don't just go buy a pattern and make pants, oh no, we do it all from scratch. First we take our model's measurements then draft a pattern for a sloper using those measurements. Then we take that pattern and make it into a muslin pair of pants and have a fitting with one of our professors. Next we make any changes from the fitting to the patterns. After that we can make a sloper using those patterns. Using the sloper allows us to create a final pattern where we're able to add design details such as a waistband, pockets, zipper, and more.
 I started with my model's (Eric) measurements and was able to create my drafted pattern. There were a few times where I was nervous that they wouldn't turn out correct. For example, the waist to hip was 5 inches and my professor told me usually for guys it's 7-9 inches, so I was a little worried. But then I made the muslin pants and eagerly awaited the fitting. I only had to add 1/4 of an inch from the hip line to the crotch line, so I did pretty well for my first pair of pants. I am pretty happy with myself because I thought I would have to make a lot more changes and I didn't expect them to fit as well as they did.
You can see the muslin pants on the left, they're pretty basic. My lines didn't match up so it makes me nervous for when I use my actual fabric because it is black with white plaid lines and I have to be really careful and take my time so that all of the horizontal and vertical lines match up and are perfect. I really want these pants (and his whole outfit) to turn out really well so when I apply to London in the fall for the spring semester I will have a variety of garments that will be (hopefully) well constructed. I don't plan on sending London bad pictures of poorly constructed garments because then I definitely wouldn't get accepted, but I would love it if all the pieces I make this semester to turn out amazingly well.
Back to the pants, after the fitting I was able to tweak my patterns and start on my slopers.
Here they are:
 They are the Back and Front pant legs in oak tag. I have all my lines drawn and notches notched. Now I am waiting for class on Tuesday to see what else I need to do. I've copied my slopers on to pattern paper but I know I need to add more to the patterns and am unsure of how much space I need so I might actually have to redo my patterns, but no big deal since I have my sloper.
I will keep you updated as the pants progress, I think the final pair are due the first week of February but we've already had an extension so it might be later but I hope to have them done quickly, I'm just so excited to see the outcome.
You can see the muslin pants on the left, they're pretty basic. My lines didn't match up so it makes me nervous for when I use my actual fabric because it is black with white plaid lines and I have to be really careful and take my time so that all of the horizontal and vertical lines match up and are perfect. I really want these pants (and his whole outfit) to turn out really well so when I apply to London in the fall for the spring semester I will have a variety of garments that will be (hopefully) well constructed. I don't plan on sending London bad pictures of poorly constructed garments because then I definitely wouldn't get accepted, but I would love it if all the pieces I make this semester to turn out amazingly well.
Back to the pants, after the fitting I was able to tweak my patterns and start on my slopers.
Here they are:
I will keep you updated as the pants progress, I think the final pair are due the first week of February but we've already had an extension so it might be later but I hope to have them done quickly, I'm just so excited to see the outcome.
Evening Dress Progress
 |
| Front View |
She's wearing black patent heels with the dress and I will (hopefully) be able to find some great black accessories. As of now I'm thinking of these combinations:
- Black pearl necklace (long and lots of strands) with her hair up and with black feathers in it and a big cocktail ring and matching dangling earrings.
- Black elbow length gloves, long dangling earrings with her hair up and with feathers.
- A wrap of a contrasting material (fur or velvet maybe?) and then short black gloves and earrings.
 |
| Side View |
I want the end result to look polished, sophisticated, but very kind of daring. For example, in the movie "Coco Avant Chanel" Coco Chanel wore a black dress she made to an elegant party when all the other women wore "happy" colors. I want her look to command the attention of a room without her saying anything.
Now I just have to finish it!
Wednesday, January 8, 2014
Fabric Shopping Spree
I needed to buy fabric for my male model's outfit so I headed off to Hancock Fabrics where I discovered a HUGE sale going on. I was able to buy a lot of fabric at some great deals! I found some fabric for the shirt and vest I want to make (I already have material for the dress pants). I also raided the bin full of remnants.


First off, I'll share the pictures and my ideas I have for the remnants.
1. This will be a scarf for my grandma since she picked it out.
2. I haven't quite decided what I want to do with this yet...
3. Look familiar? I used this fabric last year and made a skirt, only difference is the color scheme. This is browns and oranges. I think I will make the same type of skirt.
4. I would like to make a loose tank top out of this fabric.
5. This is just to go with my male model's outfit. It goes well with the black and white but I don't know if I'll use this fabric.
6. There is about half a yard of this fabric and definitely not enough to make myself a shirt. I think I will make a black sleeveless top and use this fabric for a collar and then a strip down the front with big black buttons.
Decorating Shoes!
 For the spring fashion show sophomores are required to have 2 garments on the runway and then 2 items in the art gallery. Luckily we're allowed to use work created in our art classes; however, we can only have 1 of our items be a creation from an art class. I will be using a drawing from my AD114 drawing class I took this past semester for the art gallery (I'll post more about my creations from my art class when i can get better quality photos of them). So, for my other entry I wanted to decorate a pair of shoes. I am unsure of if I can actually do this as an entry for the art gallery but I am doing this anyway. We present our ideas to the art gallery team January 17th so I will know then if this will be a good entry.
Well here are some pictures of my progress:
My supplies: white pearl beads, pale pink pearl beads, pink glitter, and then a pink glitter spray.

After applying a few coats of the pink glitter spray:

Starting to apply the beads with shoe glue. I think I am going to finish this part of the shoe using a hot glue gun so I can make sure the beads stick really well.

Tuesday, January 7, 2014
Update on my Evening Dress
 |
| The dress laying on the chiffon. |
After just messing around with the ribbon and fabric I decided on a path I wanted to take with the dress.
I started out by cutting strips of ribbon and then squares of the chiffon and then the fabric that the dress is made of as well. Next I pinned the squares to the ribbon and then the ribbon to the dress. At first I had wanted all chiffon, but then I started adding some of the other fabric and it added a little something extra that made the bottom look different and really neat. I like the way the fabric curls and lays. Hopefully it will have nice movement when my model wears the dress. I am looking forward to my fitting with her because I am sort of at a stand still right now. I can sew the squares onto the ribbon, but I might need to take in the actual dress a little bit as well as under stitch the neck, arm holes, and back V-neck. Since the dress is lined I need to seam rip the hem and finish everything before I can sew the ribbon on when I finish the final hem. I have yet to make final decisions on the back design of the dress but for now I'm going to leave it as a long, exposed V-neck.
Here are some of the pictures I took as I was working on the bottom of the dress:
 |
| Pining the ribbons. |
 |
| Swapping out the plan ribbons for chiffon covered ribbons. |
 |
| One side of the bottom all pinned and waiting to be sewn together. |
Little Life Update
So far over break I have:
- Worked a lot of shifts at Express here at home! hopefully I can work at the Express store in West Lafayette.
- Got to spend a lot of time with my family.
- Buy fabric and other materials for my dress and male model's outfit.
- Buy supplies for my art gallery entries, decorating a pair of shoes!
Annnnd so much more!
Subscribe to:
Posts (Atom)