 |
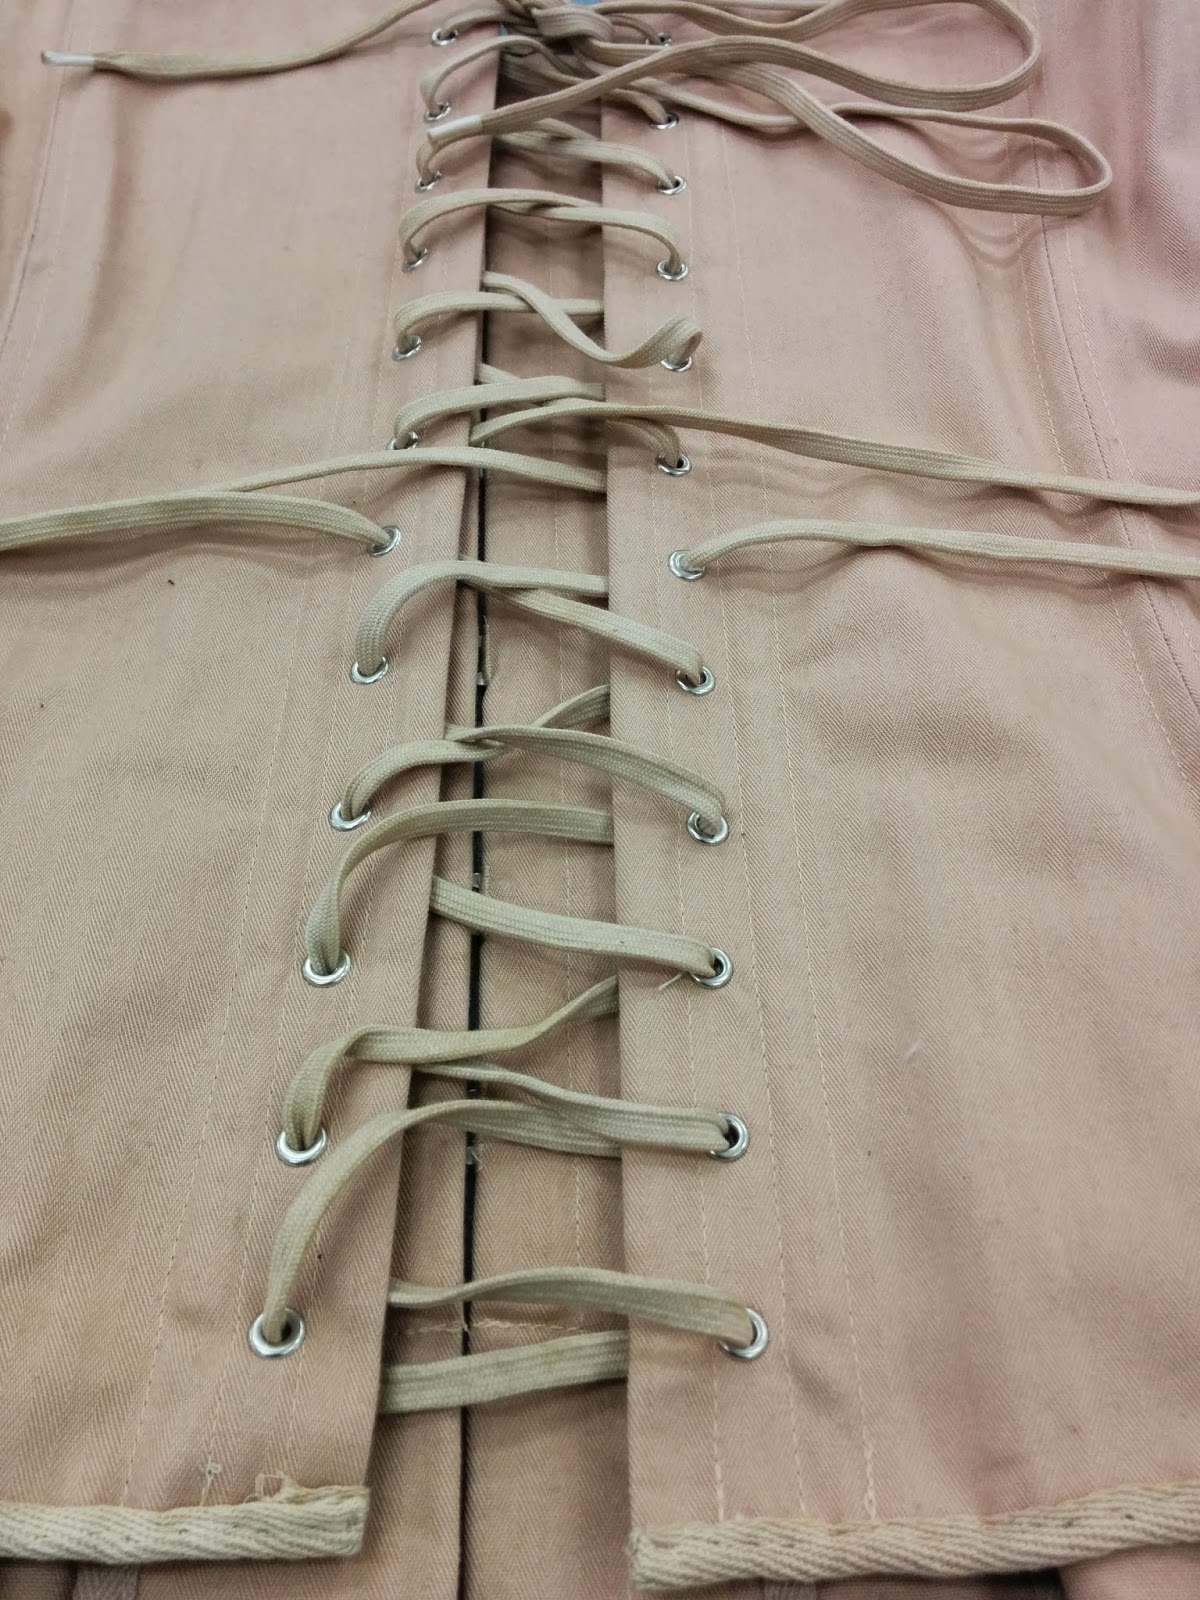
| Lacing up the back. |
 |
| The finished corset! |
After my first fitting I only had to finish the two side seams, sew the boning, and finish the top and bottom of my corset. I chose to hand sew my top and bottom so that I could finish my corset while on my mini vacation to Bath over this past weekend. Since I only had enough tape for the top from what I had used on my seams, I needed to dye more white tape, which I did using English Breakfast Tea. I also redyed my laces so that the two would match. My top and bottom taping aren't the same color, but the laces match the bottom and my seams on the inside match the top.
 |
| The fit from the front. |
I didn't get a chance to do any embroidery, but I have the materials to work on some samples when I get some free time. My corset fits really well, it laces up almost entirely in the back- which means I will most likely take it in so that if I ever chose to I could work on lacing it and take in my waist up to 2". After my first fitting my professor told me to take it in but then during the next class told me to let it out instead, which I did. So now I have a not super tight corset, but I'm happy with the results! No complaints here, I'm ready to take what I've learned and apply it to another corset.
I'd like to make another basic one, but work with different fabrics. After that I'm going to move into more challenging tasks such as lining a corset or making one of my personal designs that look difficult and involve a lot of structure. All I can say for now is that there will most definitely be a corset of some sort in my senior collection next spring!
No comments:
Post a Comment